
I was thrilled to have the opportunity to visit this very special workshop, Tomita Dye Craft, located right in the middle of Tokyo, next to the peaceful Kanda river. It was incredible to step into this workshop that at one point had 80 people working there, within a neighborhood where many dye factories were located in the early 20th century to take advantage of the Kanda River for their water source. Today, just a section of the original workshop remains – the other parts have been torn down and new apartment complexes built in its place. But the part that remains has stayed about the same, says Takushin Asano who has worked there for over 55 years.

Photo courtesy of Tomita Dye Crafts
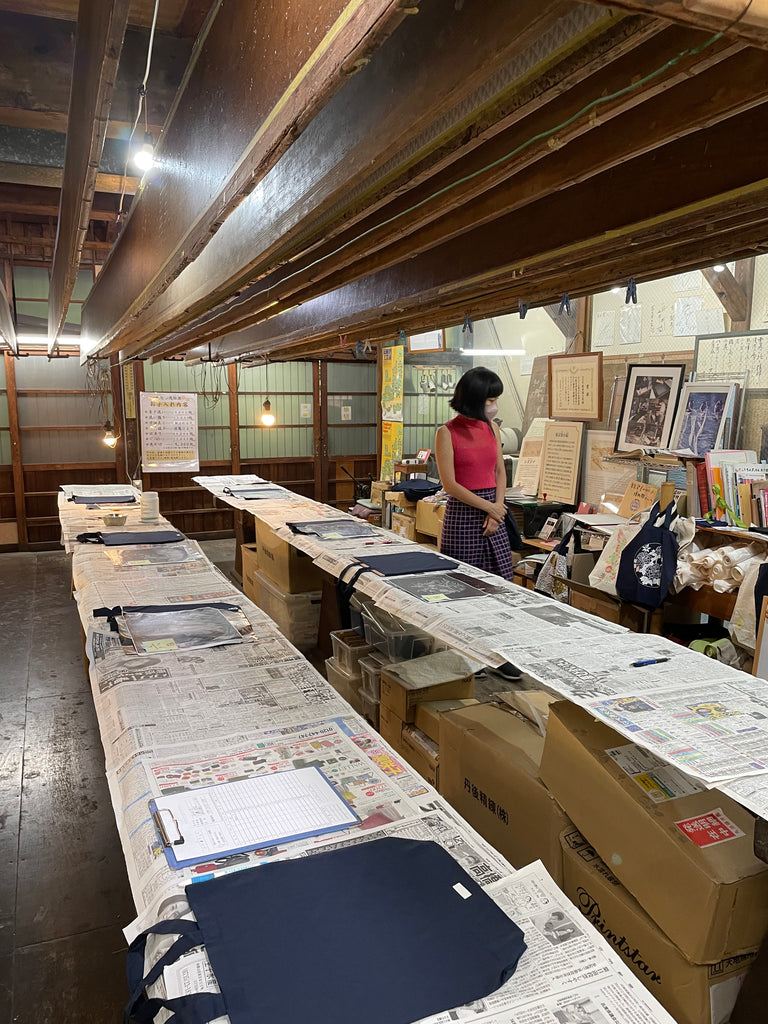
Stepping into another era at Tomita Dye Crafts' workshop.
Tomita Dye Craft was established in 1914 and the traditional crafts of Tokyo Some Komon (small pattern dyeing) and Edo Sarasa (Edo-style chintz) have been passed down generation by generation. Komon dyeing, a resist dyeing used with stencils of tiny pin holes, was adopted by the samurai for their ceremonial garments, and this was the technique I was particularly enamored by. As there were rules for each class so that their dress did not surpass their rank, and the samurai were not allowed to wear very showy garments, these subtle designs appeared to be plain cloth from a distance but revealed extremely delicate patterns up close. How fascinating!
I had first seen examples of katagami stencils in 2018 at the Denmark DesignMuseum (see below) and was blown away by these delicate designs cut from mulberry paper resting on a thin netting of silk. It was hard for me to imagine how such delicate stencils could be used for, what I considered, the fairly rough and repetitive process of printing on fabric. So when I found out about Tomita Dye Crafts while planning my sabbatical to Tokyo, I knew I had to visit!

Handcarved Katazome stencil seen at Denmark DesignMuseum, photo by Jenny Lai.
The technique of Katazome stencils originated in the Ise district in Mie Prefecture in the later part of the 8th century, but it was not until the Edo and Meiji periods (1600 – 1900) that they became fine works of art and their artisans supplied stencils all over the country. The stencil is made from three layers of washi paper that are laminated together with persimmon juice. The persimmon juice eventually makes the paper waterproof, durable, and fungus-free. To learn more about the process of making this paper, check out this article here.
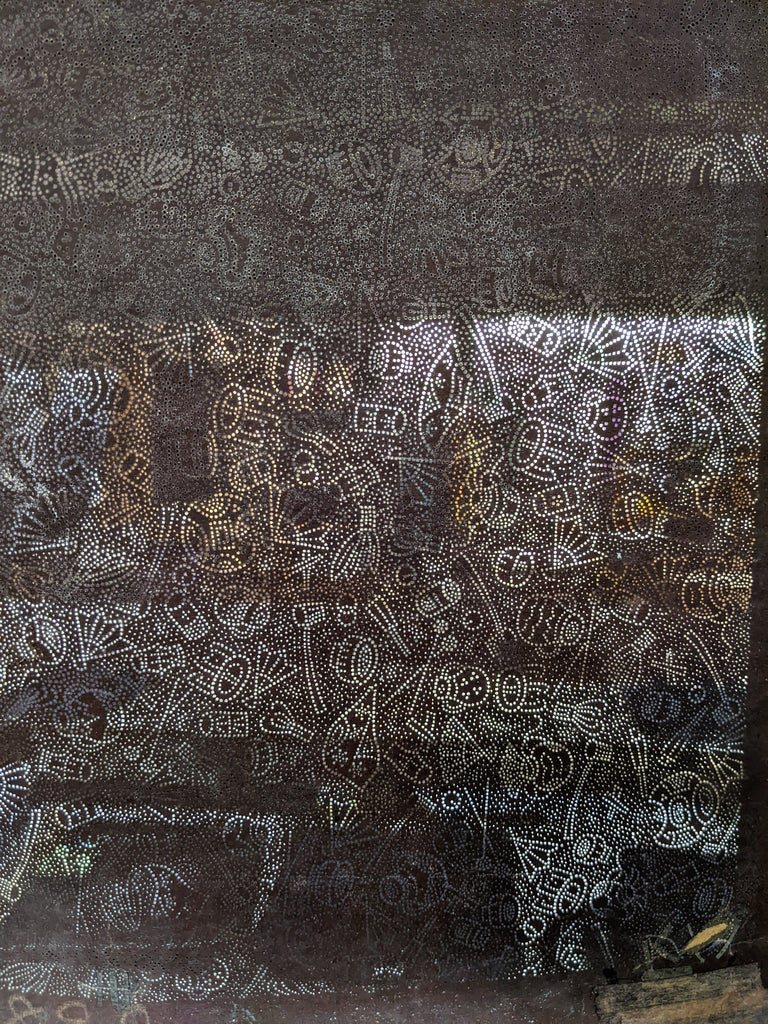
After the stencil is cut by hand, it is then applied to a fine silk gauze with Japanese lacquer, which helps the durability of the stencil and allows the resist paste to go on smoothly. Seeing Tomita Dye Craft’s stencils up close was absolutely incredible. Indeed, you had to look very closely to discover the contents of the designs.

See if you can spot the auspicious creatures nestled in here, such as turtles and fish.
This pattern had the theme of tea ceremony tools and accessories.
The original stencils were made by hand by extremely skilled Ise artisans. There are four different cutting techniques and the one that is called edo komon uses a semi-circular tip to drill little holes. Artisans will make their own hand-cutting awls and chisels to create the patterns they need. Today, some of these stencil patterns have been digitized and recreated with laser-cutting technology.

Tools for minute incisions.
Side note: Check out these gorgeous handmade brushes! I absolutely loved these brushes made from super soft deer hair. These brushes are used for the other technique that the workshop specializes in, Edo Sarasa, a pattern that originated from India and fused with traditional Japanese stencil technique during the Edo period.


Many brushes lined the workshop’s wooden support beam, a different brush for each color.

Here, you can see the stencils being kept wet with salt water, which helps to expand and flatten the stencil in preparation for dyeing.

This archive room stocks around 120,000 stencils from as far back as 1789! I got to peek at several of them. There were several large stacks with a string around them, a collection of stencils for each kimono. These were artworks that were placed, rather than repeat patterns.

There were also very finely detailed stencils that were very narrow in width, such as this one that couldn’t have been wider than 6”. These narrow stencils would need to be repeated several times because of its width – but it being so expensive for the artisan to carve, a wider stencil would have been cost-prohibitive.
Many of the stencils in their archive cannot be used for dyeing any more as they are too fragile or have been damaged, but their goal is to preserve this precious cultural heritage. Tomita Dye Crafts has begun an effort to digitize their collection for preservation, however I suspect the process is very laborious due to the minute details of their stencils.
The resist paste is created from powdered glutinous rice, rice bran, salt, and charcoal. For the dye, they use two kinds of colored starch which is made from powdered mochi rice and rice bran, then kneaded with dye.

Vats of fabric dye.
After applying the resist paste over the stencil, the base fabric is dyed. Applying the colored starch to the whole fabric dyes the base color of the fabric. Sawdust is scattered onto the fabric to prevent it from sticking to itself. This machine below was employed starting in 1952 for this process.


Two rolls of fabric can be steamed at once in this steam room. The floor is covered by sawdust which helps the steam to envelop the space evenly. The fabric is left for 20 minutes at 90 degrees Celsius to set the dye.

The steamed fabric is washed to remove the starch and excessive dye. Until 1963, the fabrics were washed in the Kanda river. Then it was washed in this stone basin, and now it is washed using the machine behind it that takes underground water. With the water wrung and set out to dry, the completed fabric is almost ready.


Examples of the final fabrics: swatches of different komon dye patterns.
These patterns are an incredible cultural property. I’m excited to hear Tomita Dye Crafts is working on a book – and I believe this collection of designs must be preserved and, hopefully, one day available for study and appreciation by the world. Companies like Liberty London have already tapped into their collection as inspiration, and many other international visitors find their way here as well. I believe there should be ways to both preserve this handcraft, to use in other contexts outside of the kimono, as well as ways to preserve, educate about, and appreciate the cultural heritage of the stencil designs. In 2019, Tomita Dye Crafts launched Sarakichi which is creating contemporary designs in not only silk but leather, wood, ceramics and more, using the traditional techniques and patterns from their stencils.
Thank you to Tomita Dye Crafts for offering this special experience and a special thanks to Mari Yamaguchi for accompanying and translating for this visit!
Subscribe below to receive our bi-monthly emails of new style launches, invite only experiences, interviews, and more.